Showing posts with label Tomato. Show all posts

Thursday, October 14, 2010

Salsa Fresca

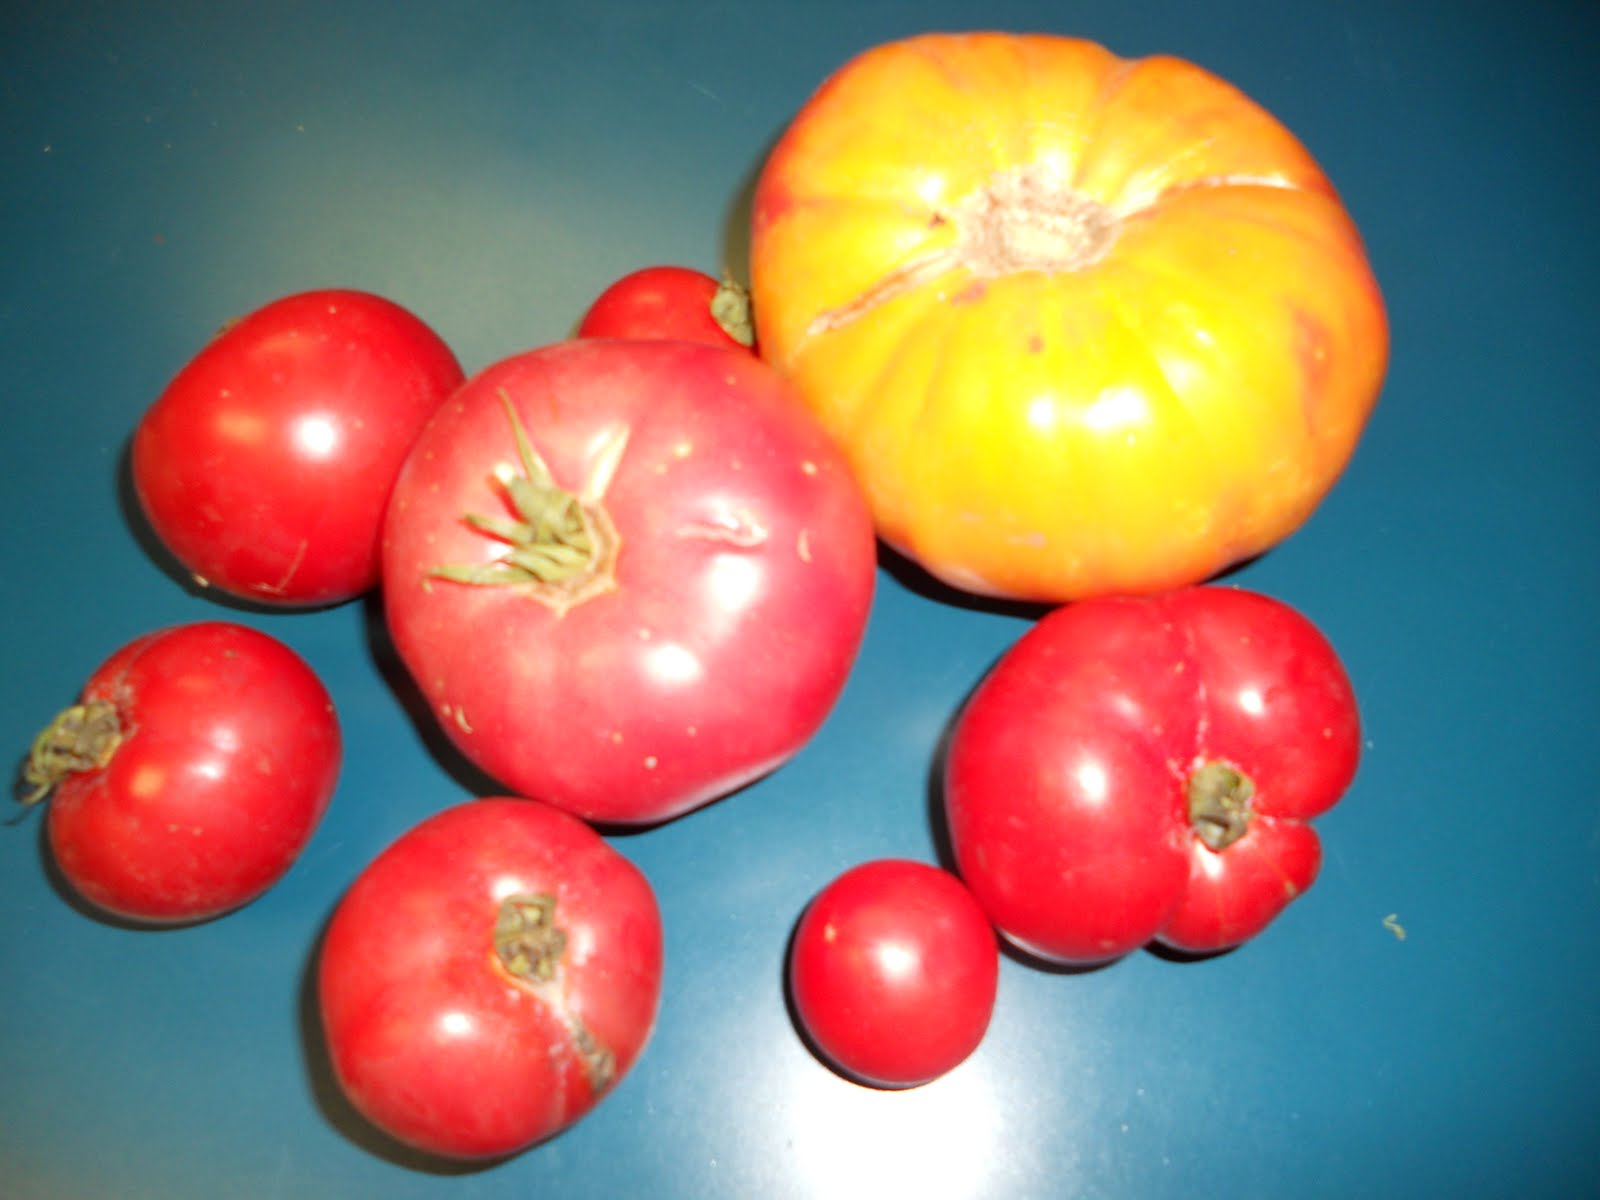
I had some tomatoes left over from my last CSA box and a serrano pepper.


I was at the San Mateo Farmer's Market this morning and bought cilantro, lime, and red onion. So, this dish is made of all fresh, local ingredients! Good work, CSA girl!


The important thing about salsa is to keep tasting it and tweeking it until it tastes the way you like it. I like a lot of lime, salt, and cilantro in my salsa.


The only way to really taste the salsa is to dip a chip in it and then adjust the ingredients until they taste right.


You can serve this tacos or you can just eat it from the bowl with chips. Quick, easy, and totally local.


CSA girl confession: Ok, I haven't revealed this in my prior posts; but, I do use my children's place mats as a cutting boards. They are great for this purpose. They are easy to clean, flexible, good for cutting veggies, and fun to look at.

Salsa Fresca
from smittenkitchen.com

2 cups of chopped tomatoes
1/2 large red onion, peeled and minced
1/4 teaspoon minced raw garlic
1 serrano pepper, stemmed, seeded and minced
1/4 cup chopped cilantro
1 tablespoon fresh lime juice
salt and freshly ground pepper

1. Combine all the ingredients; but, only add 1/2 the serrano pepper. Taste (preferably using a tortilla chip) and adjust seasoning to your taste.

2. Let sit for 15 minutes or so before serving to allow the flavors to blend.

Saturday, October 2, 2010

Tomato Fest Continues

So, as you may know, I just received a 20 pound box of Early Girl Tomatoes from Blue House Farm. I thought I would share with you some of the many things I have done with the tomatoes in the last 24 hours. First, I canned many of them (see prior post). I made a simple salad with tomatoes, fresh mozzarella, basil with a little extra virgin olive oil, balsamic vinegar, and salt and pepper.


I also made a bit of bruschetta. I brushed extra virgin olive oil on slices of baguette. Heated the bread. And, topped it with a mixture of tomatoes, garlic, fresh basil, extra virgin olive oil, balsamic vinegar and salt & pepper.


Finally, I made grilled cheese with tomato.


I hope this gives you some ideas of what to do with the beautiful tomatoes that are available right now.

Monday, September 13, 2010

Slow-Roasted Tomato Sauce

I got some beautiful tomatoes in my CSA Box. Then, a friend came over and brought more tomatoes. I knew I wanted to make a pasta sauce with these beauties; but, I wasn't sure what to make. I have made a raw tomato sauce with garlic, olive oil, and basil. That was pretty good. I have also made a cooked tomato sauce with onion, celery, carrot. That was good as well. But, I wanted to try something new. I was going through some of my cookbooks when I came across this recipe for Slow-Roasted Tomato Sauce in Vegetables Every Day by Jack Bishop. Mr. Bishop states that, "I consider this the best tomato sauce in my repertoire." I felt compelled to try this and it was a lazy sunday afternoon; so, I had several hours to let the tomatoes slowly roast in the oven.


This recipe is very simple; but, does require several hours of cooking time. Believe me it is well worth the wait. This is the food of the Gods. If the Roman Gods on Mt. Olympus ate tomato sauce it would be this sauce.


First, you chop up the tomatoes and season them with salt and pepper. Then, bake them at 250 degrees for 3 hours -- turning the cooking sheets a few times.


Then, a quick whirl in the food processor.


Add a couple tablespoons of extra virgin olive oil.


And, you have a truly amazing tomato sauce. I also used a method I found in The Splendid Table's How to Eat Supper to coat the pasta. After the pasta was cooked, I mixed the pasta with grated Parmigiano-Reggiano and then I add the pasta sauce. I really like this method because the cheese melts on the pasta and add a nice texture and saltiness to the sauce.


Then, I sprinkled a bit more Parmigiano-Reggiano at the end. As the great Ms. Mae West said, "Too much of a good thing can be wonderful." In this case, that certainly is true. However, the sauce is really good so if you want to add less cheese the dish will still taste really good.

Slow-Roasted Tomato Sauce
Adapted from Every Day Vegetables by Jack Bishop and The Splendid Table's How to Eat Supper by Lynne Rosetto Kasper and Sally Swift

Ingredients

5 large ripe tomatoes (About 3 1/2 pounds), cored and cut crosswise into 1/2-inch-thick slices
1 teaspoon kosher salt
Freshly ground black pepper
2 tablespoons extra-virgin olive oil
1 pound of pasta
1 generous cup fresh-grated Parmigiano-Reggiano cheese

1. Preheat oven to 250 degrees. Line two large baking sheets with aluminum foil.

2. Spread tomatoes out over the baking sheet in a single layer. Sprinkle with salt and pepper to taste. Roast, turning the baking sheets occasionally and switching their position in the oven once, until tomatoes are extremely condensed and shriveled, about 3 hours.

3. At the end of the 3 hours, cook the pasta according to the instructions on the box.

4. Carefully transfer tomatoes to a food processor. Puree the tomatoes into a smooth, thick sauce.

5. Drain the pasta. Sprinkle 3/4 of the Parmigiano-Reggiano cheese on the hot pasta and allow it to melt. Add the pasta sauce to coat. Save any excess sauce. It can stay in the refrigerator for several days in an airtight container or frozen for several months. Sprinkle cheese over the pasta with sauce to taste.

Saturday, July 31, 2010

Farro, Pesto & Cherry Tomato Salad w/ Roasted Chicken

Farro, Pesto & Cherry Tomato Salad

So, several weeks ago I took a cooking class with the great Joanne Weir. She made this farro, pesto & cherry tomato salad that I really liked. When I saw a huge head of bright green basil in my box I knew I needed to make this salad.


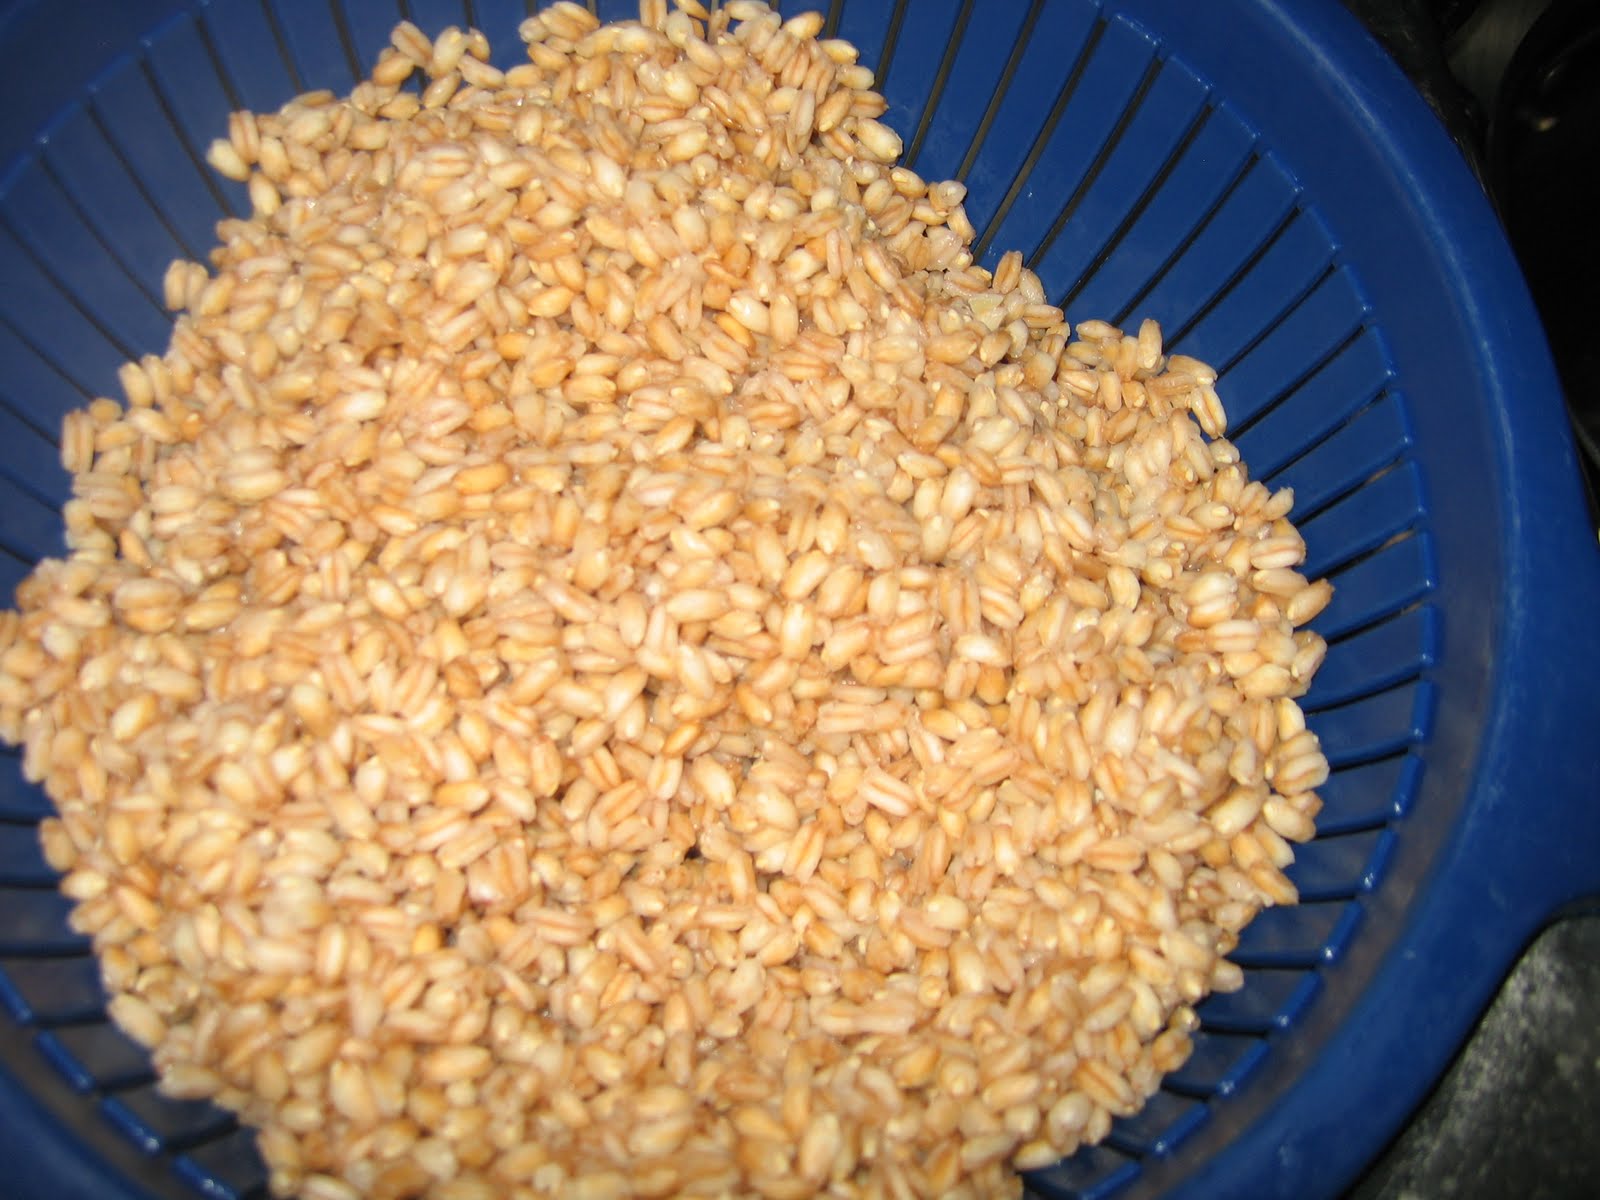
Farro is a grain that has a nutty flavor and a crunchy texture. It is really wonderful in this salad. And, easy to make. You just boil it like rice or pasta.


If you can't find farro, I think you could use rice or risotto. But, I highly recommend you find some farro. I also substituted almonds for the pine nuts. I just happened to have some almonds around and I thought they would work out. I served the salad with a roast chicken.


A Word About Roast Chicken

A roast chicken is a beautiful thing to behold and very easy to make at home. A year or so ago, I saw an episode of America's Test Kitchen that had me convinced that there was no way that I would ever successfully roast a chicken. They had a two day recipe and you had to do strange things to the skin to make it crispy. I was exhausted and demoralized just watching the show. But, then, Martha Stewart showed me the way. Yes, Martha is intimidating and if she were coming to my house I would probably have a nervous breakdown worrying that she would notice my lack of window treatments and army of dustbunnies. However, if you want to know how to perfectly and simply roast a chicken -- Martha is your woman.

In her book, Great Food Fast, Ms. Stewart has a simple and delicious roast chicken recipe. It helps to buy a good chicken. I have had good luck with Rosie's chickens from Petaluma. They are local and they raise free range organic chicken. This beauty is a 3 1/2 pound junior roaster.


So, this is super easy. You wash the chicken. Then you push the wings down into the body and tie the legs together with kitchen twine. Slather it with butter, generously sprinkle it with salt and pepper and pop it into a 425 degree oven for 45 - 50 minutes. Now, don't get cute with the chicken. I got all cocky and tried to stuff my chicken with herbs and lemon and all manner of thing. It just didn't work out as perfectly as a simple butter and salt and pepper preparation.


When you take this beauty out of your oven anyone who is in the vicinity of your kitchen will be impressed and will demand a piece immediately -- even the most dignified guest may drool.


My kids lost their minds with this bird came out of the oven. I think they were glad to have a break from mom's usual veggie experiments (don't worry reader I will never give up on my veggie experiments). Anyway, make roast chicken at home! It is a great meal and everyone at the table will be happy. And, try the chicken with the farro, pesto & cherry tomato salad. This is a winning combination.

Tuscan Farro, Pesto, and Cherry Tomato Salad
from Joanne Weir

Ingredients

2 cups farro
1/4 pine nuts, toasted
2 cloves of garlic, minced
1 1/2 packed cups fresh basil leaves
1/2 cup freshly grated Parmigiano-Reggiano
1/4 cup extra virgin olive oil (plus a bit extra at the end)
Salt and freshly ground pepper
3 cups various colored cherry tomatoes, halved
Basil leaves as garnish

1. Place farro in a large bowl and cover with plenty of cold water. Let sit for 20 minutes.

2. Drain the farro. Place the farro in a saucepan and cover with water by at least 2 inches. Bing to a boil over high heat. Reduce the heat to low and simmer until the farro is tender but still crunchy, 15-20 minutes. Drain and cool.

3. In the meantime, place the garlic, basil and Parmigiano in a blender or food processor. Process until a rough paste is formed. Add the olive oil, salt and pepper and process until the paste is smooth.

4. In a large bowl, toss together the farro and basil paste and mix well. Add the pine nuts and tomatoes and gently stir together until just mixed. Season to taste with salt and pepper and some really good extra virgin olive oil. Serve garnished with basil leaves.

Serves 6

Easy Roasted Chicken
from Great Food Fast

Ingredients

1 whole chicken (about 3 1/2 pounds), rinsed and patted dry
2 tablespoons of butter, at room temperature
Coarse salt & freshly ground pepper

1. Preheat oven to 425 degrees. Tie the chicken legs together with kitchen twine (tuck wings under the chicken, if desired, for a neater presentation). Place chicken on a rack in a roasting pan (or on a rimmed cooking sheet).

2. Rub the chicken all over with the butter; season with 1 teaspoon salt and 1/2 teaspoon pepper. Roast until an instant-read thermometer registers 160 degrees when inserted in the thickest part of the thigh (avoiding bone), 45 to 50 minutes. Serve, or let cool before refrigerating, up to 3 days, covered.

Tuesday, July 20, 2010

Crunchy Cornmeal Galette with Tomato & Basil

Last week, I had the great honor of taking a cooking class from Joanne Weir. Her cookbook, Weir Cooking in Wine Country, was one of the first cookbooks I ever bought. I still use it regularly. Anyway, I really enjoyed her Summer Supper cooking class. The food was beautiful and delicious and she is a wonderful teacher. I highly recommend that you take a class from her if you can. Future classes are posted on her website www.joanneweir.com.

Ever since I took the class, I have been craving the galette she made. It had tomatoes, basil, and cheese tucked into a crunchy cornmeal crust. I had some nice basil from Blue House Farm.


And, I had some cherry tomatoes.


The recipe is for a cornmeal crust. The key here is to keep the ingredients cold and to keep the dough cold until you put it in the oven. The dough was fairly simple to make (and, I am not much of a baker). I put the cornmeal, flour and butter in a food processor to incorporate the butter into the flour. Then I put the butter/flour/cornmeal mixture in a bowl and slowly added the wet ingredients. I rolled the dough in a ball and put it in the fridge for 30 minutes. The dough came out a bit goopy. I think it would be better to let it rest in the freezer for 30 minutes. I think that would make it cooer and easier to work with.

Nonetheless, I did shape the dough into a very rustic tart.


Baked it in the oven.


And, served it with a little corn, tomato, and avacado salad with a roasted red pepper dressing.


The crust is crunchy and has that nice cornmeal flavor to it. This is a good pastry for someone who is not a baker. My only advice is keep the dough cold. It will make it easy to handle and easier to shape.

Crunchy Cornmeal Galette with Tomato & Basil
from Summer Supper cooking class with Joanne Weir
for more information about Joanne Weir's classes go to www.joanneweir.com

Ingredients

1 cup all-purpose flour, frozen for 1 hour
1/4 cup yellow cornmeal or polenta, frozen for 1 hour
Coarse salt
8 tablespoons unsalted butter, cut into 1/2 inch pieces, frozen for 1 hour
3 tablespoons sour cream
1 teaspoon lemon juice
3 ounces coarsely grated mozzarella
3 ounces coarsely grated fontina
1/4 cup basil leaves, cut into thin strips
3 ripe but firm medium tomatoes, cored, thinly sliced
Freshly ground black pepper

Place the flour, cornmeal and 1/2 teaspoon salt on a work surface. Add the butter to the flour with a pastry scraper, cut the butter until it is the size of peas and oatmeal. Alternately this step can be done in a food processor by pulsing several times.

Whisk together the sour cream, lemon juice and 1/3 cup ice water and add a tablespoon at a time to the flour/cornmeal/butter mixture using a fork to toss and distribute the water. Add water until the dough holds together. If the dough does not hold together add more water a teaspoon at a time until the dough holds. Let rest in the refrigerator for 30 minutes or overnight.

Preheat oven to 400 degrees.

Roll the dough on a floured surface to make a 12 inch circle. Trim the edges to make a rough circle shape. Place on a baking sheet. This can be done several hours in advance and stored in the refrigerator until ready to finish.

In a bowl combine the cheeses and the basil. Spread the cheese over the dough leaving a 2 inch border along the edge. Place the tomatoes over the cheese overlapping slightly. Season with salt and pepper. Fold the uncovered edge of the pastry over the cheese, pleating it to make it fit. Bake until golden brown, 35-45 minutes. After 5 minutes, slide the galette off the pan and unto a serving plate. Cut into wedges and serve hot, warm, or room temperature.