Saturday, July 31, 2010

Farro, Pesto & Cherry Tomato Salad w/ Roasted Chicken

Farro, Pesto & Cherry Tomato Salad

So, several weeks ago I took a cooking class with the great Joanne Weir. She made this farro, pesto & cherry tomato salad that I really liked. When I saw a huge head of bright green basil in my box I knew I needed to make this salad.


Farro is a grain that has a nutty flavor and a crunchy texture. It is really wonderful in this salad. And, easy to make. You just boil it like rice or pasta.


If you can't find farro, I think you could use rice or risotto. But, I highly recommend you find some farro. I also substituted almonds for the pine nuts. I just happened to have some almonds around and I thought they would work out. I served the salad with a roast chicken.


A Word About Roast Chicken

A roast chicken is a beautiful thing to behold and very easy to make at home. A year or so ago, I saw an episode of America's Test Kitchen that had me convinced that there was no way that I would ever successfully roast a chicken. They had a two day recipe and you had to do strange things to the skin to make it crispy. I was exhausted and demoralized just watching the show. But, then, Martha Stewart showed me the way. Yes, Martha is intimidating and if she were coming to my house I would probably have a nervous breakdown worrying that she would notice my lack of window treatments and army of dustbunnies. However, if you want to know how to perfectly and simply roast a chicken -- Martha is your woman.

In her book, Great Food Fast, Ms. Stewart has a simple and delicious roast chicken recipe. It helps to buy a good chicken. I have had good luck with Rosie's chickens from Petaluma. They are local and they raise free range organic chicken. This beauty is a 3 1/2 pound junior roaster.


So, this is super easy. You wash the chicken. Then you push the wings down into the body and tie the legs together with kitchen twine. Slather it with butter, generously sprinkle it with salt and pepper and pop it into a 425 degree oven for 45 - 50 minutes. Now, don't get cute with the chicken. I got all cocky and tried to stuff my chicken with herbs and lemon and all manner of thing. It just didn't work out as perfectly as a simple butter and salt and pepper preparation.


When you take this beauty out of your oven anyone who is in the vicinity of your kitchen will be impressed and will demand a piece immediately -- even the most dignified guest may drool.


My kids lost their minds with this bird came out of the oven. I think they were glad to have a break from mom's usual veggie experiments (don't worry reader I will never give up on my veggie experiments). Anyway, make roast chicken at home! It is a great meal and everyone at the table will be happy. And, try the chicken with the farro, pesto & cherry tomato salad. This is a winning combination.

Tuscan Farro, Pesto, and Cherry Tomato Salad
from Joanne Weir

Ingredients

2 cups farro
1/4 pine nuts, toasted
2 cloves of garlic, minced
1 1/2 packed cups fresh basil leaves
1/2 cup freshly grated Parmigiano-Reggiano
1/4 cup extra virgin olive oil (plus a bit extra at the end)
Salt and freshly ground pepper
3 cups various colored cherry tomatoes, halved
Basil leaves as garnish

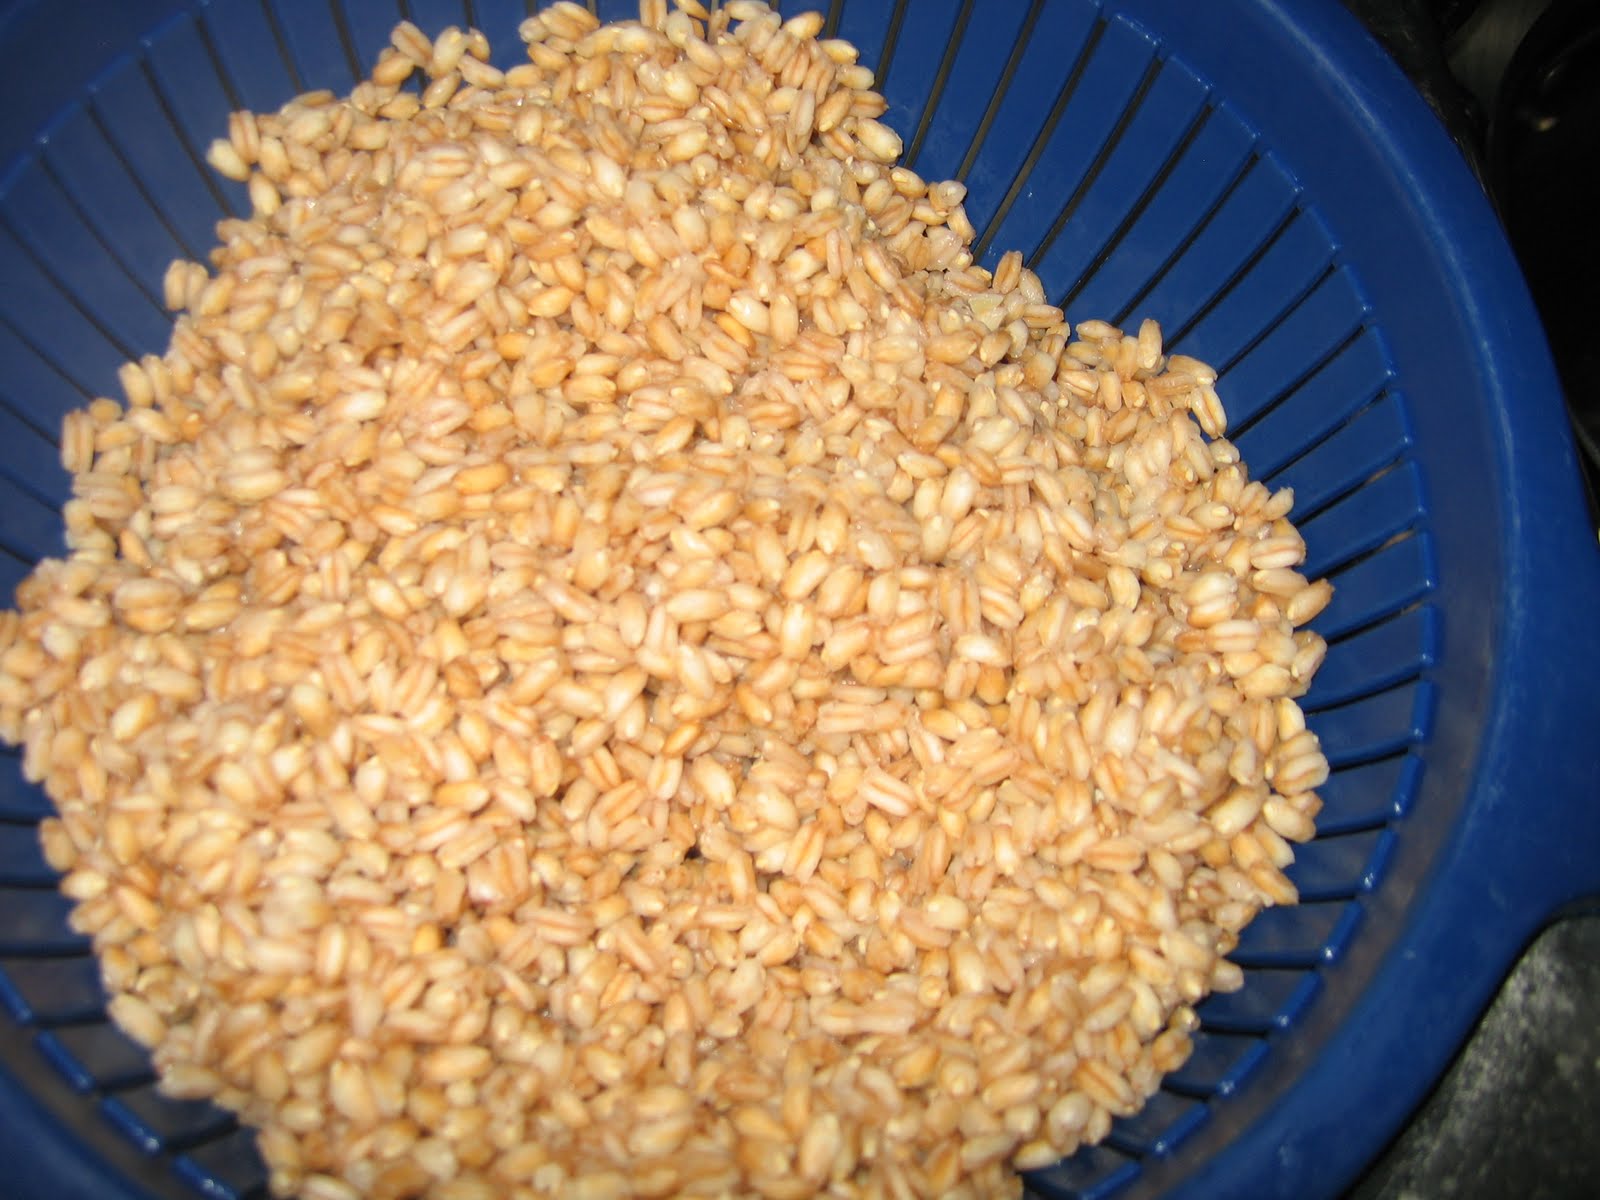
1. Place farro in a large bowl and cover with plenty of cold water. Let sit for 20 minutes.

2. Drain the farro. Place the farro in a saucepan and cover with water by at least 2 inches. Bing to a boil over high heat. Reduce the heat to low and simmer until the farro is tender but still crunchy, 15-20 minutes. Drain and cool.

3. In the meantime, place the garlic, basil and Parmigiano in a blender or food processor. Process until a rough paste is formed. Add the olive oil, salt and pepper and process until the paste is smooth.

4. In a large bowl, toss together the farro and basil paste and mix well. Add the pine nuts and tomatoes and gently stir together until just mixed. Season to taste with salt and pepper and some really good extra virgin olive oil. Serve garnished with basil leaves.

Serves 6

Easy Roasted Chicken
from Great Food Fast

Ingredients

1 whole chicken (about 3 1/2 pounds), rinsed and patted dry
2 tablespoons of butter, at room temperature
Coarse salt & freshly ground pepper

1. Preheat oven to 425 degrees. Tie the chicken legs together with kitchen twine (tuck wings under the chicken, if desired, for a neater presentation). Place chicken on a rack in a roasting pan (or on a rimmed cooking sheet).

2. Rub the chicken all over with the butter; season with 1 teaspoon salt and 1/2 teaspoon pepper. Roast until an instant-read thermometer registers 160 degrees when inserted in the thickest part of the thigh (avoiding bone), 45 to 50 minutes. Serve, or let cool before refrigerating, up to 3 days, covered.

Week 10

Here is the box for this week:


In this week's box: arugula, basil, broccoli, fennel, green leaf lettuce, kohlrabi, purplette onions, red russian kale, and strawberries. What a great combinations of veggies! Sorry I couldn't get them all in the photo. Check in later this week to see what I make.

Wednesday, July 28, 2010

Roasted Cauliflower

Every week I post two recipes -- one quick and easy and one that is a bit more involved. This week I have two quick and easy recipes due to a soba noodle mishap that I do not want to recount here in detail. I'll just say this -- when I got my box last week I had big plans and my big new recipe didn't work out. But, no worries. This roasted cauliflower recipe is really nice. It's quick, it's easy, and it's delicious. I promise to you my fateful reader that I will not post any crap recipes. If I post a recipe that means I made it and it was really good and this cauliflower recipe is no exception.


I found this recipe on the website Simply Recipes (where I also found a really good homemade lemonade recipe). You just cut up cauliflower, sprinkle some lemon juice on it, add some salt & pepper, and then drizzle olive oil on it. Cook in a 400 degree oven for 15 - 20 minutes and sprinkle with parmesan cheese -- that is it.


I had this with chicken sausage. It would be great on pasta. If you want to add an Indian flavor to this you could omit the parmesan cheese, melt some butter, sprinkle the butter with curry powder and lime juice, pour the curry lime butter on the roasted cauliflower, and garnish with cilantro.


So, next week I promise something special (that is if there are no further kitchen disasters along the way).

Roasted Cauliflower
from Simply Recipes

Ingredients
1 head of cauliflower
2-3 cloves of garlic, peeled and coarsely chopped
Lemon juice from half a lemon
Olive oil
Coarse salt and freshly ground pepper
Parmesan cheese

1. Preheat oven to 400 degrees. Cut cauliflower into florets and put in a single layer on a rimmed baking sheet. Toss in the garlic. Sprinkle lemon juice over the cauliflower and drizzle each piece with olive oil. Sprinkle with salt and pepper.

2. Place baking sheet in the hot oven for 15 - 20 minutes, or until the top is brown. Test with a fork for desired doneness. Remove from oven and generously sprinkle with parmesan cheese. Serve immediately.

Monday, July 26, 2010

Radish Butter on Toasted Baguette

I have some radishes in my box this week. I was using them for salads; but, I also wanted to try something new with them.


I searched the usual sites and cookbooks and found an interesting recipe from Martha Stewart. It also looked really quick and easy; so, I decided to make it for lunch on Saturday. This recipe is very simple. You just grate some radishes on a box grater, mix them with butter, put them on toasted baguette slices and sprinkle salt and pepper on them.


Simple and elegant. This recipe is so Martha. It is a great quick lunch or would be nice to leave out for guests as they arrive at a party maybe with some Prosecco (I love the bubbly). It also would make a nice midnight (or relatively late night) snack.


Radish Butter on Toasted Baguette
from MarthaStewart.com

Ingredients

8 medium radishes, cleaned, roots trimmed
6 tablespoons butter, room temperature
1 8-ounce baguette
Coarse salt and freshly ground pepper

1. Preheat oven to 375 degrees. Grate radishes on the large holes of a box grater; place on paper towels, and squeeze out extra liquid. Combine radishes and butter in small bowl; mix well.

2. Slice baguette in half lengthwise, and place in oven; toast until slightly crisp and browned. Remove from oven, and cool slightly. Spread radish mixture on toasted baguette; season with salt and pepper. Slice each half into four pieces, and serve.

Friday, July 23, 2010

Week 9

Here's my box for this week:


Inside the box are: white cauliflower, romaine lettuce, parsley, yellow onions, collard greens, red cabbage, french breakfast radishes, and strawberries. Check back later this week to see what I make. Also, if anyone has any good cabbage recipes please let me know. I'm a bit challenged regarding cabbage preparations.

Tuesday, July 20, 2010

Crunchy Cornmeal Galette with Tomato & Basil

Last week, I had the great honor of taking a cooking class from Joanne Weir. Her cookbook, Weir Cooking in Wine Country, was one of the first cookbooks I ever bought. I still use it regularly. Anyway, I really enjoyed her Summer Supper cooking class. The food was beautiful and delicious and she is a wonderful teacher. I highly recommend that you take a class from her if you can. Future classes are posted on her website www.joanneweir.com.

Ever since I took the class, I have been craving the galette she made. It had tomatoes, basil, and cheese tucked into a crunchy cornmeal crust. I had some nice basil from Blue House Farm.


And, I had some cherry tomatoes.


The recipe is for a cornmeal crust. The key here is to keep the ingredients cold and to keep the dough cold until you put it in the oven. The dough was fairly simple to make (and, I am not much of a baker). I put the cornmeal, flour and butter in a food processor to incorporate the butter into the flour. Then I put the butter/flour/cornmeal mixture in a bowl and slowly added the wet ingredients. I rolled the dough in a ball and put it in the fridge for 30 minutes. The dough came out a bit goopy. I think it would be better to let it rest in the freezer for 30 minutes. I think that would make it cooer and easier to work with.

Nonetheless, I did shape the dough into a very rustic tart.


Baked it in the oven.


And, served it with a little corn, tomato, and avacado salad with a roasted red pepper dressing.


The crust is crunchy and has that nice cornmeal flavor to it. This is a good pastry for someone who is not a baker. My only advice is keep the dough cold. It will make it easy to handle and easier to shape.

Crunchy Cornmeal Galette with Tomato & Basil
from Summer Supper cooking class with Joanne Weir
for more information about Joanne Weir's classes go to www.joanneweir.com

Ingredients

1 cup all-purpose flour, frozen for 1 hour
1/4 cup yellow cornmeal or polenta, frozen for 1 hour
Coarse salt
8 tablespoons unsalted butter, cut into 1/2 inch pieces, frozen for 1 hour
3 tablespoons sour cream
1 teaspoon lemon juice
3 ounces coarsely grated mozzarella
3 ounces coarsely grated fontina
1/4 cup basil leaves, cut into thin strips
3 ripe but firm medium tomatoes, cored, thinly sliced
Freshly ground black pepper

Place the flour, cornmeal and 1/2 teaspoon salt on a work surface. Add the butter to the flour with a pastry scraper, cut the butter until it is the size of peas and oatmeal. Alternately this step can be done in a food processor by pulsing several times.

Whisk together the sour cream, lemon juice and 1/3 cup ice water and add a tablespoon at a time to the flour/cornmeal/butter mixture using a fork to toss and distribute the water. Add water until the dough holds together. If the dough does not hold together add more water a teaspoon at a time until the dough holds. Let rest in the refrigerator for 30 minutes or overnight.

Preheat oven to 400 degrees.

Roll the dough on a floured surface to make a 12 inch circle. Trim the edges to make a rough circle shape. Place on a baking sheet. This can be done several hours in advance and stored in the refrigerator until ready to finish.

In a bowl combine the cheeses and the basil. Spread the cheese over the dough leaving a 2 inch border along the edge. Place the tomatoes over the cheese overlapping slightly. Season with salt and pepper. Fold the uncovered edge of the pastry over the cheese, pleating it to make it fit. Bake until golden brown, 35-45 minutes. After 5 minutes, slide the galette off the pan and unto a serving plate. Cut into wedges and serve hot, warm, or room temperature.


CSA Girl COMMUNITY LEADER AWARD WINNER

Hi all! I am pleased to announce that Rachel Jordan has won the CSA Girl COMMUNITY LEADER AWARD. Rachel organized a CSA pick up site for Blue House Farm in her neighborhood in San Mateo. Great work, Rachel! Thank you for supporting your local farm (and my favorite) Blue House Farm in Pescadero. And, thank you for bringing healthy, delicious food to families in your neighborhood.

If you live near San Mateo and are interested in joining this pick up site please e-mail Rachel at rachelajordan@yahoo.com. There are still some spots available. Or, if you are interested in organizing a site in your neighborhood you can e-mail Rachel to discuss how she did it or you can e-mail me at csagirlcal@gmail.com. I would love to help you!


Saturday, July 17, 2010

Purple Kohlrabi Chips

If there is life on Mars, I could definitely see Martian farmers harvesting kohlrabi. This vegetable is very sci fi. It also brings fear into the hearts of many potential CSA-joiners or to people who have joined a CSA. My god, they think to themselves, what is that thing in my box? Can I eat this weird creature?


CSA girl rule #1: When in doubt make chips. If you have a nice hearty root vegetable in your box and you're not sure what to do make chips. Get out the mandolin, slice thinly, sprinkle with olive oil and salt, and bake on high heat for awhile. This formula has not failed me yet. If you have a bunch of random root vegetables (beets, kohlrabi, potatoes, turnips, etc.) mix it up. It will look great and taste even better.


Equipment Note: I am not an advocate of buying a bunch of kitchen gadgets; but, a mandolin is a great investment. It doesn't take up much space in your kitchen and you can buy a good mandolin for a reasonable price. I use the Benriner Japanese mandolin.


Kohlrabi Chips

Ingredients:

Kohlrabi, peeled and thinly sliced
Olive Oil
Salt & pepper

Preheat oven to 375 degrees. Toss kohlrabi with olive oil, salt and pepper. Place on a cooking sheet and do not overlap. Cook for 8 minutes until crisp and brown around the edges. If not done in 8 minutes, put in oven and check every 2-3 minutes to see if done. Add a bit more salt after taking chips out of the oven.

Week 8

Here is the box for Week 8:


In this week's box: red onions, red leaf lettuce, red beets, purple kohlrabi, rainbow chard, napa cabbage, basil, 2 baskets of strawberries, and radishes. What a great mix of veggies! I can't wait to get into the kitchen and start cooking. Check back later this week to see what I make.

Tuesday, July 13, 2010

Pasta with Chickpeas and Kale

On Saturday, I was watching Lidia's Italy and Lidia made this beautiful pasta with greens and chickpeas. I didn't pay very close attention thinking that it would just be on her website. I then tried to find the recipe on the internet and failed miserably. I knew I had some curly kale left over from my CSA box; and, watching Lidia make the pasta made me crave it.


I found a similar recipe on the blog Serious Eats. This recipe is very easy. You saute the chickpeas in olive oil, garlic, and red pepper flakes. Then, you add some chopped kale, cover it, and let the kale cook. After the kale is cooked squeeze lemon juice on it.


Add some cook pasta, reserved pasta water, and grated parmesan cheese. How easy is that?


And, doesn't it look delicious? It's sad but writing to this entry is making me crave more of this dish. I'm going to go grab some leftovers. I look forward to hearing from you and seeing if you like this dish as much as I do.

Pasta with Chickpeas and Kale
Adapted from a recipe from the blog Serious Eats

Ingredients

1 head of kale, chard, or other greens
3 tablespoons olive oil (plus some good olive oil for finishing)
2 large garlic cloves, chopped
1 pinch of red pepper flakes
1 can chickpeas (15 ounce), drained and rinsed
juice of half of a lemon
1 pound rotini or other short pasta
parmesan cheese to taste

1. Separate the leaves on the greens from the stems. Discard the stems. Then cut the leaves into thin strips. Transfer leaves to a colander and rinse well.

2. In a large skillet with a cover, heat olive oil over medium heat. Add the garlic and red pepper flakes and cook for about 30 seconds. Add chickpeas and cook for a minute. Add greens, in batches, stirring often until they are slightly wilted. Cover the pot and let cook for 15-20 minutes until wilted. Season to taste with salt. Take off heat and stir in lemon juice.

3. In the meantime, add pasta to a large pot of boiling salted water. Cook until al dente. Reserve 1 cup of pasta water.

4. Combine greens and pasta and stir to combine. Add pasta water and parmesan cheese to form a light sauce. Serve in bowls, sprinkle more cheese, and drizzle with a bit of good olive oil.


Saturday, July 10, 2010

Lemon Dill New Potatoes

When I saw these beautiful new potatoes in my box, I knew I wouldn't have to do much with them to make them taste great. I also had some dill and I thought a little butter and dill would be nice.


Since it is summer, I wanted to grill something to go wit the potatoes. Mark Bittman had a recipe for Greek-Style Fish with Marinated Tomatoes in his Minimalist column this week that looked good. I couldn't find a whole fish; so, I had to tie together a filet of trout to stuff it before I grilled it. I have included the fish recipe at the end of this entry. But, I really don't think you have to get that complicated with the fish. If you find some good fresh fish, you can just put some olive oil, lemon, and salt and pepper on it and grill it for a few minutes on each side. The marinated tomatoes were nice; so, if you have time I recommend making them and putting them on the fish and serving it with the potatoes. The dill potatoes go very well with the fish and marinated tomatoes.


If you want to make this a vegetarian dinner, you could make the potatoes, marinate the tomatoes according to Mark Bittman's recipe, grill some marinated tempeh or tofu, top the tofu or tempeh with the tomatoes and serve the potatoes on the side.


This is a perfect summer meal. And, like I said, if you just want to grill the fish without stuffing it you could save yourself some time and I think it would still taste great.


Note to reader: I'm sorry the presentation was a bit sloppy this week.


I think I need a new food stylist.

Lemon Dill New Potatoes

Ingredients

5-6 medium new potatoes
4 tablespoons butter
2 tablespoons lemon juice
1 tablespoon dill, chopped

Drop the potatoes into a large pot of salted boiling water. Boil until the potatoes are tender but not mushy (about 20-25 minutes). While potatoes are boiling, melt butter in a small saucepan. Add lemon juice and dill until they are warm. When potatoes are cooked, strain them and let them cool slightly. Slice potatoes into think slices and pour lemon dill butter sauce over them.

Greek-Style Fish with Marinated Tomatoes
From Mark Bittman's The Minimalist

Ingredients
2 cups of cherry tomatoes, halved
1/4 cup of olive oil
2 tablespoons white wine vinegar
1 tablespoon minced fresh chile, like jalapeno, of more to taste
1 tablespoon fresh oregano, or 1 tsp dried
4 cloves garlic, sliced
salt and freshly ground pepper
1 large whole fish or 2 smaller ones (2-3 pounds total) like stripped bass, rockfish or trout;
preferably butterflied and boned, or simply gutted
1 lemon, sliced
4-6 fresh sprigs thyme

1. Heat oven to 450 degrees or prepare grill; heat should be medium high and rack about 4 inches from the fire. Combine tomatoes, 2 tablespoons olive oil, vinegar, chili, oregano, a few slices of garlic, and sprinkle salt and pepper in a large bowl; let sit at room temperature for 20 - 30 minutes.

2. Meanwhile, using a sharp knife, make three or four diagonal, parallel slashes on each side of the fish, just about down to the bone. Sprinkle inside of fish with salt and pepper, then stuff with remaining garlic, a layer of lemon slices and fresh thyme sprigs. Rub outside of fish with remaining 2 tablespoons of oil and sprinkle with salt and pepper. Note: If you don't have a whole fish, you can follow all of step 2 and then tie the fish together with kitchen twine. If you need help, just e-mail me and I can give you very specific instructions.

3. To roast, put fish in a roasting pan and cook for about 20 minutes (cooking time will depend on the size of the fish). If grilling, cook until firm enough to turn, 5 to 8 minutes. Turn and cook on second side for 5 to 8 minutes. Whether roasting or grilling, fish is done when exterior is crisp and a thin-bladed knife passes easily through flesh.

4. Taste tomato mixture and adjust seasoning, adding more oil if needed. Serve fish topped with tomatoes and their liquid.

Yield: 4 servings

Week 7

Here's my box for Week 7:


In the box are: new potatoes, fava beans, salad mix, green curly kale, green cabbage, dill, iceberg lettuce, and 2 boxes of strawberries. Check in again later this week to see what I make.

Tuesday, July 6, 2010

Grilled Beet Salad with Goat Cheese and Greens

Sometimes I wonder if I were on a desert island and could only have one cookbook which cookbook would I want. Often the answer is How to Cook Everything by Mark Bittman. Mark Bittman also has a weekly column in The New York Times called The Minimalist. In last week's Minimalist column there was an article called 101 Reasons to Light the Grill. It was a bit overwhemling but also inspiring. Number 6 (of 101) was grilled beets. I had some beautiful chioggia beets from my box and I thought I would try out #6.


Chioggia beets are those beets with the white and pink candy-cane-esque stripes.


This recipe fit the CSA girl recipe requirements because it is easy, has only a few ingredients, and enhances the beauty and flavor of the vegetable featured in this dish -- beets. You just slice the beets, toss them with olive oil, and throw them on the grill on low heat.


To serve, cover them with a bit of lightly dressed salad greens and some goat cheese.


Grilled Beet Salad with Goat Cheese and Greens
Inspired by Mark Bittman's 101 Reasons to Light the Grill

Ingredients

4-5 beets, peeled and sliced
3 tablespoons extra virgin olive oil
salt and pepper
salad greens
2-3 ounces goat cheese
1 tablespoon red wine vinegar

Coat the beets with about 1 - 1 1/2 tablespoons of olive oil. Grill on low heat until tender and lightly browned. In a small bowl, mix 1 tablespoon of olive oil, 1/3 tablespoon of vinegar and salt and pepper. Add greens to the bowl and toss. Place beets on plates to serve. Place dressed greens on top and sprinkle with goat cheese.

Kale Chips

My sister told me several times to check out the kale chips recipe at www.smittenkitchen.com. The idea of chips made out of kale did not appeal to me. Then, last night, I was browsing The Smitten Kitchen (as I often am) and I decided to try the recipe.


I had this really nice lacinato (or dinosaur) kale from my CSA box. It had been several days since I got the kale and it was getting slightly limp so I thought that making it into chips would give it some added crispness. This recipe is really easy. You just separate the leaves from the stems.


Chop the leaves into bite sized pieces and sprinkle them with olive oil and salt.


Pop them into a 300 degree oven for 10-15 minutes (until crisp) and then enjoy! These chips are really great. They would be fun to serve at the beginning of a party with some wine or beer. They would also be a great after school or play date snack. Just make sure you make a ton of them because they will be devoured quickly.

Kale Chips
from smittenkitchen.com

Ingredients

1 bunch of kale (lacinato kale works well)
1 tablespoon or so of olive oil
kosher salt to taste

Preheat the oven to 300 degrees. Separate the leaves from the stems. Chop the kale into bite sized pieces. Sprinkle with olive oil and salt. Bake in the over for 10-15 minutes until crisp. Sprinkle with a bit more salt to taste.

Friday, July 2, 2010

Fried Rice with Fava Beans and Carrots

A container of day old (or older) cooked rice is not a welcome sight in most refrigerators. However, this fried rice recipe may change your mind. The best rice for this would be Chinese style steamed rice -- homemade or take out. Sushi rice is also very good. Really, I think any precooked rice would work. The most time consuming part of this dish was prepping the fava beans. If you don't have fava beans or don't feel like prepping them you can substitute fresh or frozen peas. Just thaw them out before adding them to the rice.

How to prep the fava beans. So, here's the quick and dirty guide to prepping fava beans. First, you need to pop the beans out of the pod.


Then boil the beans in salted water for 3- 5 minutes. Let the beans cool. Then, pop them out of their skins with your fingers.

That wasn't so bad. Was it? This is a great job for tiny fingers so if you have child labor available use it! I do!

The rest of the preparation for this dish is very quick and very easy. Feel free to get creative about things you mix in at the end. Think of this dish as a way to use leftovers like cooked meat, cooked veggies, tofu, or any thing else you have lingering in your fridge. Just toss them into the pan after you have coated the rice with the eggs and let them quickly heat up in the pan.


To serve this, I like to put the fried rice in a bowl and sprinkle some toasted sesame oil and chilli garlic sauce on it. Scallions would also be a nice garnish. So, next time you make rice make a bit extra and make some fried rice.


Let me know if you discover other good combinations of meat or veggies for this dish. Have fun and enjoy!

Fried Rice with Fava Beans and Carrots
Inspired by a recipe from The Ultimate Rice Cooker Cookbook by Beth Hensperger and Julie Kaufmann

Ingredients

1 clove of garlic, chopped
2 cups of cold cooked rice
2 eggs lightly beaten
1 pound of fava beans, cooked and prepped
2 carrots, peeled and chopped into small pieces
2 tablespoons sesame seed oil (or neutral oil like vegetable oil)
2 teaspoons soy sauce
1 teaspoon toasted sesame seed oil, plus a dash extra for serving
chilli garlic sauce to taste

1. Prep the fava beans (see above). Boil the carrots in salted water for about 3 minutes -- until tender but not mushy. Strain the carrots and set aside.

2. Heat the sesame oil in a nonstick pan over medium-high heat. Add the garlic and stir fry until fragrant (about 30 seconds). Add the rice, breaking up any clumps. Stir fry the rice allowing it to heat up and grow fragrant.

3. Push the rice over to one side of the pan and pour the eggs into the empty space in the pan. Allow the eggs to cook for a few seconds undisturbed until the bottom starts to set. Then stir the rice into the eggs, folding the rice and eggs over so the rice is evenly covered with egg. Add the fava beans and carrots and stir into the rice/egg mixture. Add the soy sauce and toasted sesame seed oil.

4. Place in a bowl and sprinkle with toasted sesame oil and chilli garlic sauce to taste.

Week 6

Hi all! Here's my box for Week 6.


There are chioggia beets, lacinato kale, butter lettuce, carrots, garlic, fava beans, and 2 baskets of strawberries. The possibilities are endless. Check back later this week for two new recipes made from these beautiful ingredients.